Aroma Digital Rice Cooker Instruction Manual: A Comprehensive Guide
Welcome! This manual details the Aroma 10-Cup Digital Rice Cooker (ARC-930) and similar models‚ offering guidance for optimal use and versatile cooking experiences;
Understanding Your Aroma Rice Cooker
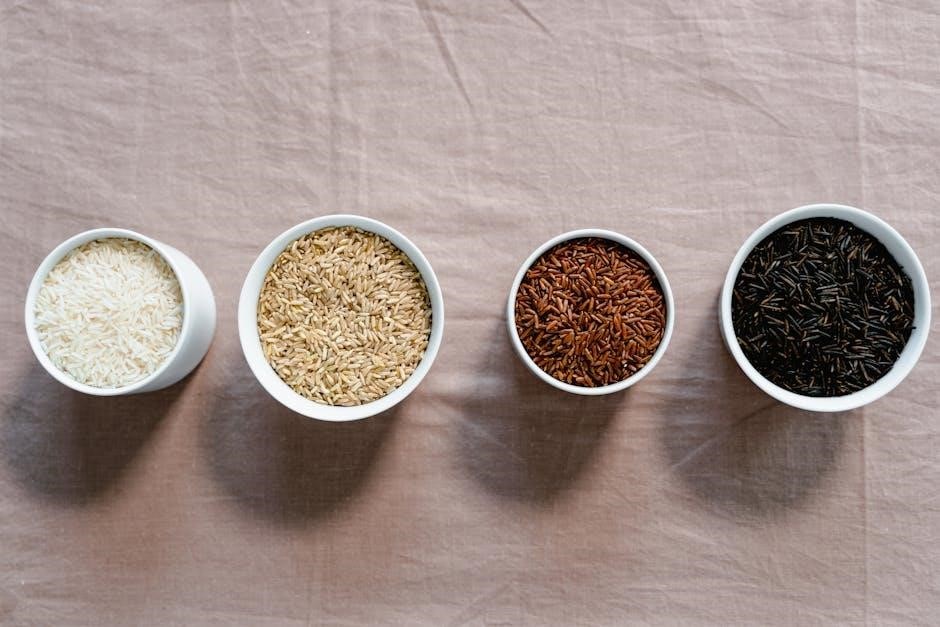
Congratulations on selecting an Aroma digital rice cooker! These cookers‚ like the popular ARC-930 and ARC-914SBD models‚ are designed for simplicity and convenience‚ extending beyond basic rice preparation․ This appliance isn’t just for white rice; it’s a versatile kitchen tool capable of steaming vegetables‚ cooking grains like quinoa and oats‚ and even preparing soups and stews․
The digital interface provides precise control over cooking cycles‚ ensuring perfectly cooked rice every time․ Features like the delay timer allow for pre-programmed cooking‚ ideal for busy schedules․ The “Keep Warm” function maintains rice at an optimal temperature for extended periods․ Understanding these core functionalities will unlock the full potential of your Aroma cooker․ It’s a valuable addition for anyone seeking efficient and flavorful meal preparation‚ offering a blend of technology and culinary ease․
Model Numbers and Variations (ARC-930‚ ARC-914SBD)
Aroma Housewares offers a range of digital rice cookers‚ with the ARC-930 and ARC-914SBD being prominent examples․ The ARC-930‚ a 10-cup model released around 2006‚ is a widely recognized option‚ often bundled as a steamer and cooker․ The ARC-914SBD‚ frequently highlighted in reviews as a “best value” choice‚ shares similar functionality but may feature slight design or feature variations․
While both models excel at cooking rice and steaming‚ differences can exist in specific settings or included accessories․ It’s crucial to refer to the manual specific to your model number for accurate instructions․ Despite these variations‚ the core principles of operation remain consistent across the series․ Understanding your specific model ensures optimal performance and access to all available features‚ maximizing your cooking experience with Aroma’s versatile appliances․
Key Features and Benefits
Aroma Digital Rice Cookers boast several key features designed for convenience and versatility․ Digital controls offer precise cooking settings for various rice types and grains․ The “Cool-Touch” exterior ensures safety during operation‚ preventing accidental burns․ Many models include a steam tray‚ expanding functionality beyond rice to include vegetables and fish․
Benefits include consistent‚ perfectly cooked rice every time‚ freeing you from stovetop monitoring․ The delay timer allows for pre-programmed cooking‚ ensuring a hot meal is ready when you are․ The “Keep Warm” function maintains rice temperature for extended periods‚ ideal for gatherings․ These cookers simplify meal preparation‚ offering a convenient and healthy cooking solution for busy lifestyles‚ and represent excellent value for their price point․

Setting Up Your Rice Cooker
Preparation is key! This section guides you through the initial setup‚ parts identification‚ and powering on your Aroma Digital Rice Cooker for seamless operation․
Initial Setup and Cleaning
Before first use‚ carefully unpack your Aroma Digital Rice Cooker and remove all packaging materials․ Inspect the unit for any damage that may have occurred during shipping․ Wash the inner cooking pot‚ steam tray‚ and measuring cup with warm‚ soapy water․ Rinse thoroughly and dry completely․
The exterior of the rice cooker should be wiped clean with a damp cloth․ Never immerse the rice cooker base in water or any other liquid‚ as this could create an electrical hazard․ Ensure the heating plate inside the cooker is clean and free of any debris․ A slightly damp cloth can be used for this purpose‚ but avoid excessive moisture․
It’s recommended to run a test cycle with water only before cooking rice for the first time․ This helps to eliminate any manufacturing residue and ensures optimal performance․ Simply add 2 cups of water to the inner pot‚ close the lid‚ and press the “Cook” button․ Allow the cycle to complete‚ then discard the water and dry the pot․
Parts Identification
Your Aroma Digital Rice Cooker consists of several key components․ The outer housing provides a cool-touch exterior․ The lid features a vent to release steam during cooking and a handle for easy opening․ Inside‚ you’ll find the inner cooking pot‚ removable for convenient cleaning‚ and the heating plate‚ responsible for even heat distribution․
Included accessories are crucial for operation․ The measuring cup is specifically designed for accurate rice measurement – typically 3/4 cup for one cup of cooked rice․ The steam tray allows for simultaneous steaming of vegetables or fish․ Locate the control panel with digital display‚ offering various function selections․
Familiarize yourself with the power cord and ensure it’s securely connected․ The condensation collector‚ usually located at the rear‚ catches excess moisture․ Understanding each part ensures safe and efficient operation of your Aroma rice cooker․
Powering On and Basic Operation
To begin‚ plug the power cord into a grounded outlet․ The digital display will illuminate‚ indicating the cooker is receiving power․ Press the Power button to activate the unit; a default setting‚ often ‘White Rice‚’ may appear․ Use the Menu button to cycle through available cooking programs – White Rice‚ Brown Rice‚ Steam‚ and others․
Once your desired program is selected‚ the cooker will automatically begin the cooking process after pressing Start․ The display will show the cooking time remaining․ Avoid lifting the lid during operation‚ as this releases steam and affects cooking results․
Upon completion‚ the cooker will automatically switch to the Keep Warm function․ The display will indicate ‘Keep Warm․’ To turn off the cooker completely‚ press the Power button again․ Always unplug the unit when not in use for extended periods․
Cooking Rice: Step-by-Step Instructions
Perfect rice is easy! Measure rice and water accurately‚ select the appropriate program‚ and press ‘Start’ for fluffy‚ delicious results every time․
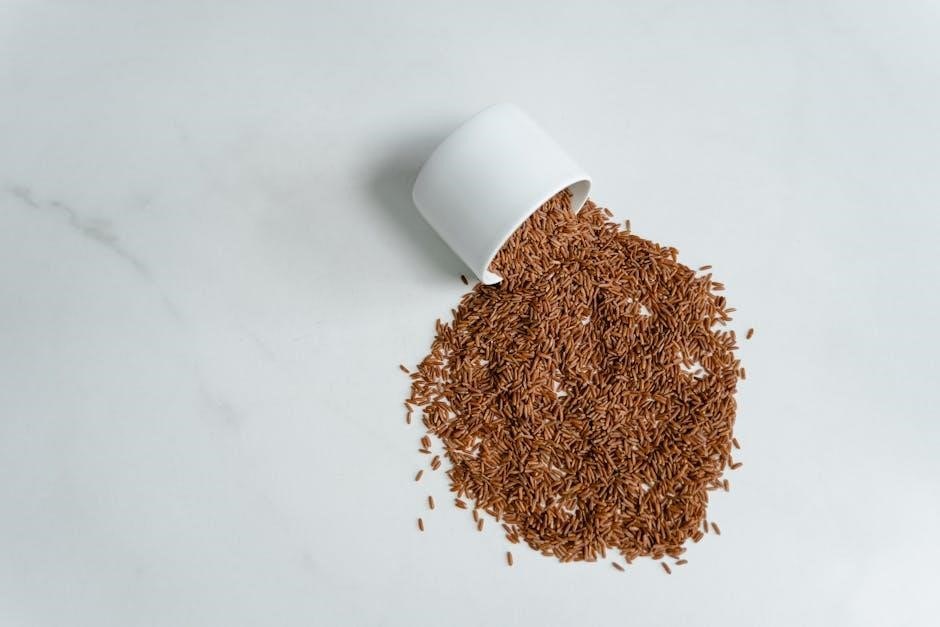
Measuring Rice and Water Ratios
Achieving perfect rice texture relies on precise measurements․ For white rice‚ a general guideline is a 1:1 ratio – one cup of rice to one cup of water․ However‚ slight adjustments may be needed based on rice type and desired consistency․ Always use the measuring cup provided with your Aroma rice cooker for accurate results; standard kitchen cups vary in volume․
Brown rice typically requires a higher water-to-rice ratio‚ around 1:2 or 1:2․5․ This is because brown rice has a bran layer that needs more moisture to cook properly․ Experimenting within this range will help you find your preferred texture․ Remember to rinse the rice before cooking to remove excess starch‚ contributing to fluffier grains․
Important Note: The water level markings inside the cooker are specifically calibrated for use with the included measuring cup․ Using different measuring tools can lead to undercooked or overcooked rice․ For best results‚ adhere to these guidelines and adjust slightly based on personal preference․
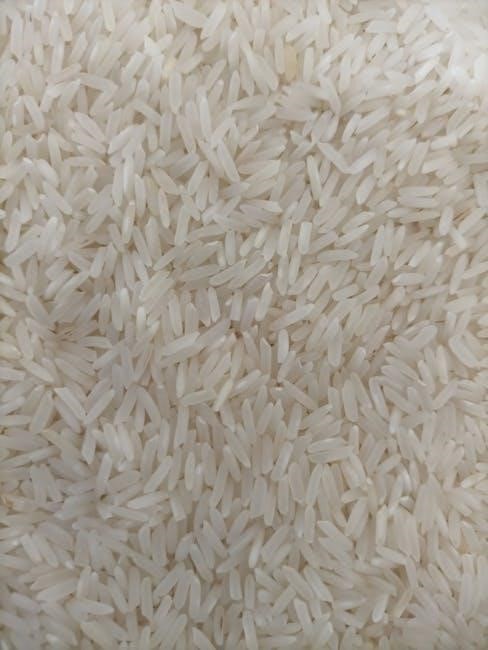
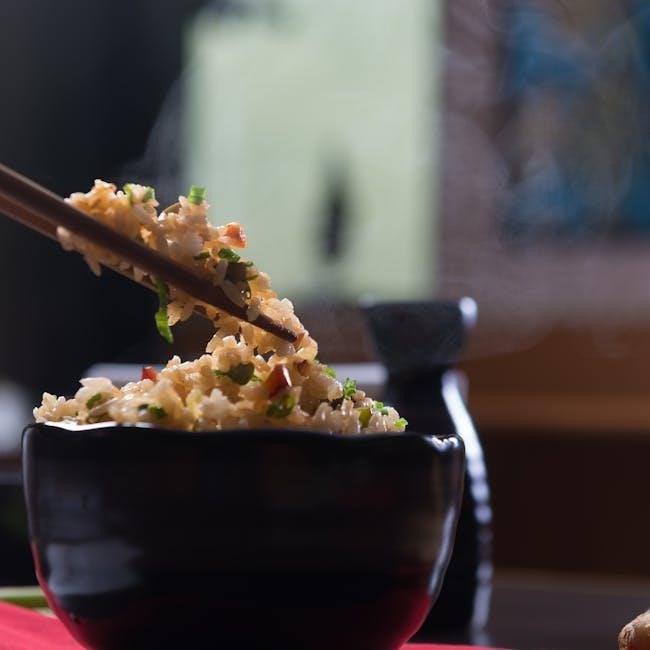
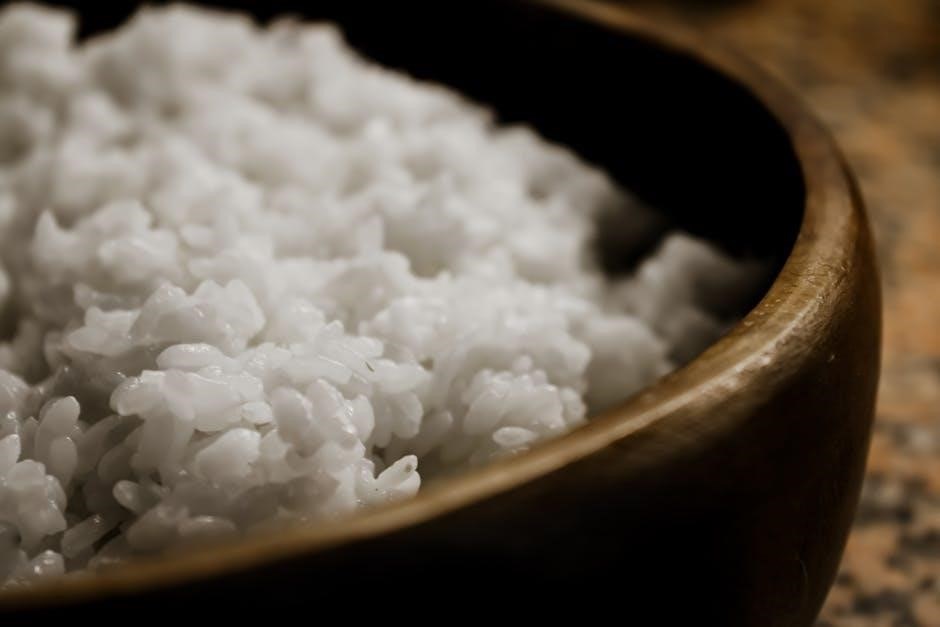
White Rice Cooking Guide
Preparing fluffy‚ delicious white rice is simple with your Aroma cooker․ Begin by rinsing the desired amount of white rice under cold water until the water runs clear – this removes excess starch․ Add the rinsed rice to the inner pot‚ then add water using a 1:1 rice-to-water ratio (using the provided measuring cup)․
Secure the lid‚ ensuring it’s properly sealed․ Select the “White Rice” setting on your digital control panel․ Press “Start‚” and the cooker will automatically switch to the “Keep Warm” mode once cooking is complete․ Allow the rice to rest‚ covered‚ for 10-15 minutes for optimal texture․
For softer rice‚ slightly increase the water ratio (e․g․‚ 1 cup rice to 1․1 cups water)․ For firmer rice‚ reduce the water slightly․ Avoid lifting the lid during the cooking process‚ as this releases steam and affects cooking time․ Enjoy your perfectly cooked white rice!
Brown Rice Cooking Guide
Cooking brown rice requires a slightly different approach than white rice due to its bran layer․ Begin by rinsing the brown rice under cold water․ A 1:2․25 rice-to-water ratio is generally recommended – for example‚ 1 cup of brown rice to 2․25 cups of water․ This ensures sufficient moisture for proper cooking․
Place the rinsed rice and water into the inner pot‚ secure the lid‚ and select the “Brown Rice” setting on your Aroma digital rice cooker․ Press “Start” to initiate the cooking cycle․ Brown rice typically takes longer to cook than white rice‚ so be patient!
Once the cycle completes‚ allow the rice to steam‚ covered‚ for 10-15 minutes․ This allows the moisture to distribute evenly‚ resulting in a fluffier texture․ Adjust the water ratio slightly in future batches to achieve your preferred level of tenderness․
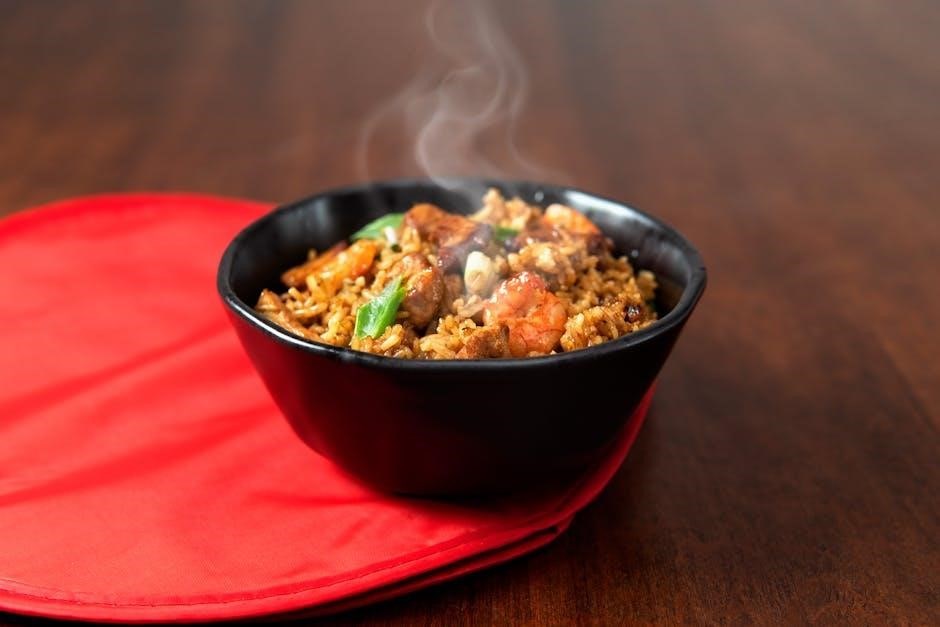
Beyond Rice: Versatile Cooking Options
Expand your culinary horizons! This cooker isn’t limited to rice; explore steaming vegetables‚ cooking quinoa‚ oats‚ and even creating delicious soups and stews․
Steaming Vegetables and Fish
Unlock healthy cooking! The Aroma rice cooker’s steaming function provides a convenient and nutritious way to prepare vegetables and fish․ Utilize the included steam tray‚ ensuring it’s securely positioned above the cooking water level․
For vegetables‚ a small amount of water in the inner pot is sufficient – typically ½ to 1 cup‚ depending on the quantity and type․ Broccoli‚ carrots‚ and green beans steam beautifully‚ retaining their vibrant color and essential nutrients․ Cooking times vary; check for desired tenderness after approximately 10-15 minutes․
Fish fillets also benefit from steaming‚ resulting in moist and flaky results․ Season the fish lightly before placing it on the steam tray․ Steaming times are generally shorter for fish‚ around 8-12 minutes‚ depending on thickness․ Remember to avoid overcooking to maintain optimal texture and flavor․ The steam function offers a healthier alternative to frying‚ preserving the natural goodness of your ingredients․
Cooking Grains (Quinoa‚ Oats)
Expand your culinary horizons! Beyond rice‚ your Aroma cooker excels at preparing various grains like quinoa and oats․ For quinoa‚ use a 1:2 quinoa-to-water ratio․ Rinse the quinoa thoroughly before adding it to the inner pot․ Select the “White Rice” setting and allow the cooker to complete its cycle․ Fluff with a fork after cooking․
Steel-cut oats can also be cooked effectively․ A typical ratio is 1 cup of oats to 3 cups of water․ Utilize the “White Rice” setting‚ but monitor the cooking process․ Steel-cut oats generally require a longer cooking time‚ potentially needing a second cycle or manual adjustment․
Rolled oats cook more quickly; a 1:2 ratio with the “Quick Cook” setting often yields perfect results․ Experiment with ratios to achieve your preferred consistency․ Remember to adjust cooking times based on your specific model and desired texture for optimal grain preparation․
Making Soups and Stews
Unlock savory possibilities! Your Aroma rice cooker isn’t limited to grains; it’s a capable pot for soups and stews․ Begin by sautéing vegetables directly in the inner pot using the “Sauté” function (if equipped) or on a stovetop before transferring to the cooker․ Add broth‚ proteins‚ and seasonings․
Select the “Soup” setting if available‚ or utilize the “Slow Cook” function for extended simmering․ If neither is present‚ the “White Rice” setting can work‚ but monitor closely to prevent scorching․ Ensure sufficient liquid is present throughout the cooking process․
For thicker stews‚ a smaller liquid-to-solid ratio is appropriate․ For brothy soups‚ increase the liquid accordingly․ Always remember to release pressure carefully after cooking‚ and stir well before serving․ Experiment with different recipes to discover the full potential of your versatile Aroma cooker!
Advanced Features and Settings
Explore enhanced control! Utilize the delay timer for convenient cooking‚ the keep-warm function for extended serving‚ and troubleshoot common issues with our guide․
Delay Timer Function
Convenience at your fingertips! The Aroma digital rice cooker’s delay timer allows you to schedule cooking in advance‚ ensuring a hot‚ freshly cooked meal precisely when you desire․ To utilize this feature‚ first‚ press the “Delay” button․ The display will begin to flash‚ indicating it’s ready for programming․
Next‚ use the “Hour” and “Minute” buttons to set the desired delayed start time․ Consider the cooking time of your chosen recipe when setting the delay; the cooker will automatically switch to the “Keep Warm” function once cooking is complete․
Press the “Start” button to activate the delay timer․ The display will show the set delay time‚ counting down until cooking begins․ Remember to ensure ingredients are properly measured and added before setting the delay․ For optimal results‚ avoid using perishable ingredients with extended delay times․ This feature provides flexibility and simplifies meal preparation‚ fitting seamlessly into your busy lifestyle․
Keep Warm Function
Perfectly timed warmth! Once the cooking cycle is complete‚ your Aroma digital rice cooker automatically transitions to the “Keep Warm” function‚ maintaining your rice at an ideal serving temperature for hours․ This eliminates the worry of cold or dried-out rice‚ ensuring a delicious meal is always ready․
The “Keep Warm” function operates independently of the cooking cycle‚ providing consistent warmth without further cooking the rice․ While in “Keep Warm” mode‚ the cooker consumes minimal energy․
To manually deactivate the “Keep Warm” function‚ simply press the “Cancel” or “Start” button․ It’s recommended not to leave cooked rice in “Keep Warm” mode for extended periods (beyond 12 hours) to maintain optimal texture and flavor․ This feature is incredibly convenient for gatherings‚ busy schedules‚ or simply enjoying a leisurely meal without rushing․ Enjoy consistently warm and fluffy rice whenever you’re ready!

Troubleshooting Common Issues
Facing a hiccup? If your Aroma rice cooker isn’t functioning as expected‚ several simple solutions can resolve common issues․ If the cooker doesn’t start‚ ensure the power cord is securely plugged in and the lid is properly sealed․ A flashing display often indicates an error – consult the full manual for specific code meanings․
If rice is burning‚ reduce the water ratio slightly in future attempts․ Conversely‚ if rice is undercooked‚ increase the water․ For uneven cooking‚ ensure rice is rinsed thoroughly before cooking to remove excess starch․ If the “Keep Warm” function isn’t activating‚ verify the cooker completed the cooking cycle first․
Never immerse the cooker base in water․ If issues persist‚ unplug the cooker and contact Aroma customer support for assistance․ Always prioritize safety and avoid attempting repairs yourself․ A little troubleshooting can save you time and ensure continued enjoyment of your rice cooker!

Maintenance and Care
Preserve your cooker! Regular cleaning‚ proper storage‚ and adherence to safety precautions will ensure longevity and optimal performance of your Aroma rice cooker․
Cleaning Procedures
Maintaining cleanliness is crucial for the longevity and performance of your Aroma Digital Rice Cooker․ Always unplug the cooker and allow it to cool completely before cleaning․ The inner pot is typically non-stick and can be washed with warm‚ soapy water‚ or placed in the dishwasher for convenience․
The steam vent and lid should be regularly cleaned to prevent buildup․ Remove the steam vent and wash it separately․ Wipe down the exterior of the cooker with a damp cloth․ Avoid abrasive cleaners‚ as they can damage the finish․
For stubborn food residue‚ a paste of baking soda and water can be applied gently․ Ensure all components are thoroughly dried before reassembling․ Regularly inspect the heating plate for any food particles and clean as needed․ Proper cleaning after each use will prevent odors and ensure consistent cooking results․ Never immerse the cooker base in water․
Storage Instructions
Proper storage extends the life of your Aroma Digital Rice Cooker․ Before storing‚ ensure the unit is completely cool and dry․ The inner pot‚ steam vent‚ and accessories can be neatly stored inside the cooker body to save space․ Avoid tightly coiling the power cord‚ as this can cause damage over time; instead‚ loop it loosely․
Store the rice cooker in a cool‚ dry place‚ away from direct sunlight and moisture․ Avoid storing it near heat sources or in areas prone to extreme temperature fluctuations․ If storing for an extended period‚ consider placing a desiccant packet inside to absorb any residual moisture․
Keep the original packaging if possible‚ as it provides protection during storage․ Regularly check the stored unit for any signs of damage or deterioration․ Ensure the lid is not tightly sealed to prevent odors from building up․ Following these guidelines will help maintain your cooker’s condition․
Safety Precautions
Always prioritize safety when operating your Aroma Digital Rice Cooker․ Never immerse the cooker base in water or any other liquid to prevent electric shock․ Ensure the power cord is undamaged and doesn’t contact hot surfaces․ Use a grounded outlet and avoid extension cords if possible․
Do not operate the cooker if the power cord or plug is damaged․ Hot steam can escape during cooking; keep hands and face away from the steam vent․ Never open the lid forcefully while cooking․ Allow the cooker to cool completely before cleaning․
Supervise children when the cooker is in use․ This appliance is not intended for use by persons with reduced physical‚ sensory‚ or mental capabilities․ Unplug the cooker when not in use and before cleaning․ Never attempt to repair the cooker yourself; contact qualified personnel for assistance․ Following these precautions ensures safe operation․